Getting Started: Understanding Soil and Equipment
Before you begin disking, understanding your soil type and tractor capabilities is crucial. Different soils react differently to disking; clay soils, for instance, are prone to compaction if disked when wet, while sandy soils may require more passes for optimal seedbed preparation. Knowing your soil’s texture and moisture retention is crucial for successful disking. Similarly, ensure your tractor is appropriately sized for your field and that all equipment is in good working order – sharp disk blades are essential for clean cuts and prevent soil damage. Consult your tractor's manual if unsure about specific settings. For more detailed guidance, check out this helpful guide: Disking Techniques.
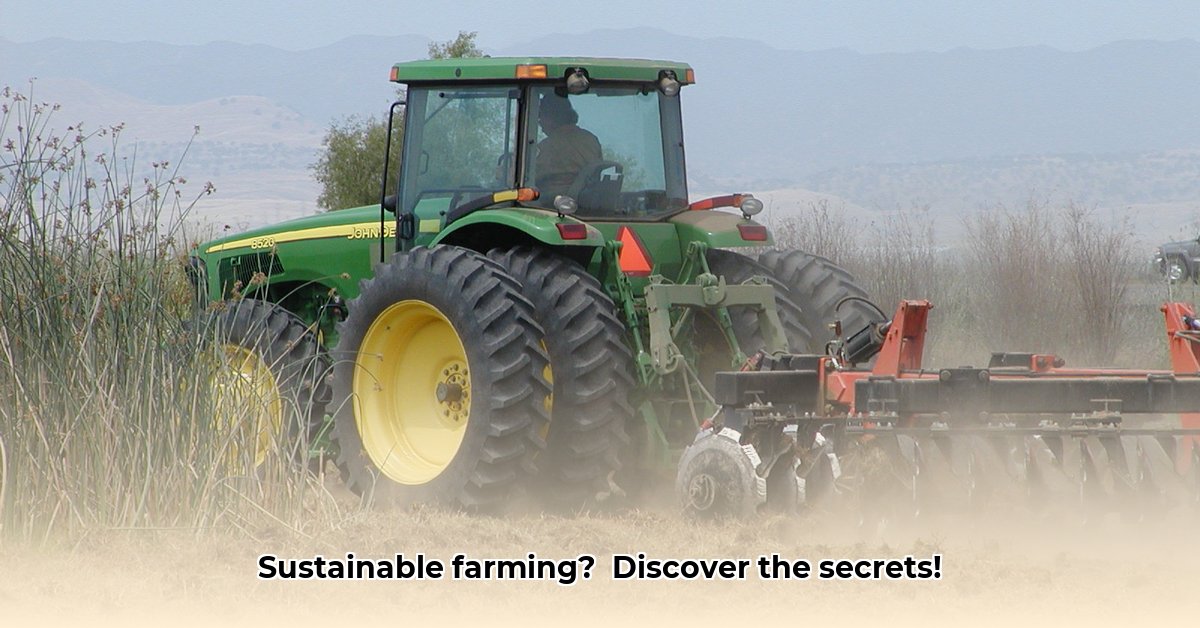
Preparing for a Successful Disking Operation
A pre-disking checklist ensures efficient and sustainable practices:
Check Soil Moisture: Avoid disking wet soil; it leads to compaction and clodding, hindering plant growth. Aim for moist but not muddy conditions.
Inspect Equipment: Ensure disk blades are sharp and all tractor components are functioning correctly. Dull blades tear the soil, leading to uneven seedbeds. Regular maintenance is key.
Plan Your Passes: Determine the number of passes needed to achieve uniform coverage. Excessive passes compact the soil and lead to nutrient loss. Strategically plan your route using a map or field plan.
Manage Crop Residue: Crop residue improves soil health and reduces erosion. Disking incorporates this residue, but excessive amounts can hinder planting. Strive for a balance; leave a protective layer on the surface after disking.
Disking Time: A Step-by-Step Guide
Start Slow and Steady: Begin at a lower speed to gain control and gradually increase as you become more confident. Safety is paramount.
Adjust Depth: Disking depth depends on soil type, crop and goals. Shallower disking is generally gentler on soil structure and promotes better soil health. Avoid extremely deep disking to minimize damage.
Overlap Passes: Overlap passes slightly for even coverage. Think of it as painting a wall – slightly overlapping strokes prevent streaks. Maintaining consistent depth is key during overlapping to properly prepare the land.
Monitor Progress: Regularly check the disked area; if you see soil damage, adjust technique/depth immediately.
Evaluating the Practice: Pros and Cons of Disking
Disking offers several benefits but also presents drawbacks:
Pros:
- Improved Aeration: Loosen soil allows better air circulation; this is essential for healthy root development.
- Enhanced Water Infiltration: Improved soil structure leads to better water absorption, reducing runoff.
- Weed Control: Disking buries weed seeds, reducing weed pressure.
- Incorporation of Organic Matter: Mixing crop residue improves soil fertility and diminishes erosion.
Cons:
- Soil Compaction: Disking wet soil compacts it, hindering root penetration and harming soil organisms.
- Erosion Risk: Disking can expose soil, making it vulnerable to erosion, particularly on slopes.
- Loss of Soil Organic Matter: Excessive disking depletes organic matter, negatively impacting long-term soil health.
- Disruption of Soil Ecosystem: Disking can harm beneficial soil microbes and organisms crucial for soil fertility.
Sustainable Disking: Minimizing Negative Impacts
Sustainable disking prioritizes minimizing negative impacts while maximizing benefits:
- Reduce Disking Frequency: Consider no-till or reduced-till practices to minimize soil disturbance.
- Utilize Cover Crops: Planting cover crops protects the soil, improves its structure, reduces erosion, and improves soil fertility.
- Optimal Timing: Disk when soil moisture is ideal to minimize compaction and erosion risks; avoid periods of heavy rainfall or high winds.
- Regular Soil Testing: Regular soil tests inform disking decisions, providing critical data about soil health and needs.
- Adapt and Experiment: Every farm is unique. Experiment with different techniques and adjust your approach based on your observations. What works for one farm might not work for another.
Technological Advancements in Disking
Precision agriculture is revolutionizing disking practices:
- GPS-Guided Disking: GPS-guided tractors provide greater precision, reducing fuel consumption and overlaps.
- Soil Sensors: Real-time soil sensor data enables more informed disking decisions, optimizing results and minimizing environmental impact.
These technologies pave the way for more efficient and sustainable disking practices.
Key Takeaways: Sustainable Disking in Action
- Disking, while beneficial, can negatively impact soil if not managed sustainably.
- Soil health is paramount: sustainable disking prioritizes minimal soil disturbance.
- Proper timing and technique are crucial; soil testing helps optimize practices.
- Integrating disking with other sustainable techniques (like cover cropping) enhances overall impact.